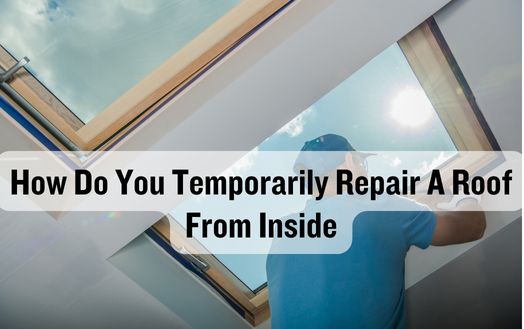
Have you ever wondered how do you temporarily repair a roof from inside? Yes, it is possible. When faced with a leaky roof, it can be quite distressing, but there are steps you can take to mitigate the damage until a professional can address the issue.
In this discussion, I will share some practical tips on how to temporarily repair a roof from inside, allowing you to safeguard your home and belongings from further water damage.
So, let’s explore these simple yet effective solutions together and ensure your peace of mind during those unexpected rainy days.
I must assess the roof damage to fix the problem. When temporarily repairing a roof from the inside, damage assessment is crucial. By assessing the damage, I can choose the best repair method and ensure success.
I inspect my house’s interior before assessing roof damage. Water stains on the ceiling or walls, dampness, or mold growth indicate water leakage. These indicators can help me spot urgent issues. I also check for roof holes and cracks, which can cause the issue.
After assessing the damage, I can start temporary repairs. Tarps or plastic sheets may be used to cover the affected areas and prevent water intrusion. Sealants or caulking can temporarily stop leaks by sealing visible cracks or gaps.
Damage assessment can also yield creative solutions. Thermal imaging cameras or drones with high-resolution cameras can detect hidden damage. Advanced technology allows for a more thorough assessment and better temporary repairs.

I gather all the temporary roof repair materials. As I assess the damage, I spot a few urgent areas. I start with a tarp or heavy-duty plastic sheeting. This will temporarily seal any leaks or openings in the damaged area. I grabbed a roll of duct tape to secure the tarp and seal it.
Next, I find a bucket and mop. These are useful for collecting roof leaks. I can prevent water damage inside the house by strategically placing the bucket beneath the damaged area. I get a tube of roofing caulk for small cracks. This flexible sealant stops leaks and prevents water from entering. I also grab a bucket of roof patching compound in case the damage is worse. This thick, tar-like substance can temporarily block water infiltration in larger, damaged areas. Finally, I get a ladder and a flashlight. I can safely access the damaged area and see the roof’s condition with these tools.
I’m ready to repair the temporary roof with all the materials. These innovative solutions allow me to quickly repair the damage and prevent further issues until a permanent fix is found.
Finding the leak is my top priority as I gather materials for the temporary roof repair. To fix the issue, you must find where the water is entering the structure. A more targeted and innovative solution will result from these time and effort savings.
I start by inspecting the house’s interior for leaks. I check the ceiling and walls for water stains to determine where the leak is coming from. After finding a potential location, I inspect the roof outside.
I carefully climbed a ladder to check the roof for damage. I inspect the shingles for cracks, missing pieces, and curling edges. Damaged shingles may be the leak’s cause. If I’m unsure of my findings, I may hire a roofing contractor to help me find the spot.
Once the leak source is found, I can start the temporary repair. I carefully and tightly sealed the damaged area with roofing cement. I can temporarily fix the leak from inside the house with this innovative solution until a permanent solution is found.
Preparing for the temporary roof repair requires clearing debris and cleaning. Clean and safe working conditions are essential before I can patch roof leaks. When clearing debris and cleaning, remember these four things:
Use a temporary sealant or caulk to fix roof leaks. This innovative method seals roof gaps and cracks quickly and effectively, preventing further water damage. Sealants and caulk really change temporary repairs.
Clean the area before applying sealant or caulk for maximum adhesion. Remove any loose debris that could hinder sealant effectiveness. After cleaning and drying, apply a temporary sealant.
Choose an excellent roof repair sealant. Waterproof sealants can withstand extreme weather. Use generous sealant to fill any gaps or cracks. Putty knives or caulking guns allow precise and even application.
Let the sealant dry before testing it. Be patient—this may take time. Check for leaks after the sealant dries. Add sealant if needed to ensure a watertight seal.
Roof tape can be used to temporarily repair small cracks or holes on your roof from the inside. Roof tape is a versatile and innovative solution for minor repairs. Roofing tape is effective for small cracks for four reasons:
For larger roof cracks or holes, use a temporary roof patch. Temporary repairs require speed, efficiency, and creativity. A roof patch installed from the inside is a great way to fix the problem without climbing on the roof.
Installation requires a few materials. First, gather a sturdy piece of plywood or tarp large enough to cover the damage. Hammers, nails, and waterproof sealant are needed.
Identify the damaged roof section from inside your home. Remove debris and loose materials. Put the plywood or tarp over the hole, extending at least 12 inches beyond the damage. Nail it to the roof rafters for stability.
After securing the patch, generously apply waterproof sealant around the edges to seal. Water won’t leak through and cause more damage.
Secure loose roof shingles and tiles immediately. Ignoring this issue may cause more damage and costly repairs. There are easy ways to temporarily fix loose shingles or tiles inside your home. Here are four creative ways to secure loose shingles or tiles:
Check the flashing around your roof for damage. Your roof needs flashing to prevent leaks and water damage. Weather, age, and improper installation can damage flashing. Rust, cracks, and gaps should be addressed immediately to avoid further damage.
Damaged flashing can be repaired temporarily until a roofing professional can assess and fix it. Seal flashing cracks and gaps with roofing cement or sealant. Spread the cement or sealant evenly and adhere it to the flashing. This will prevent water infiltration and leaks until a permanent solution is found.
Roof-specific waterproof tape is another temporary repair method. This tape can temporarily repair damaged flashing and is easy to apply. Clean around the flashing, apply tape to the damaged section, and press it firmly for proper adhesion. The waterproof tape will prevent water damage until a professional can fix it.
Please note that these temporary repairs are only a stopgap. You must still call a roofing professional to assess the damage and find a long-term solution. They know how to repair or replace flashing to protect your roof and prevent leaks.
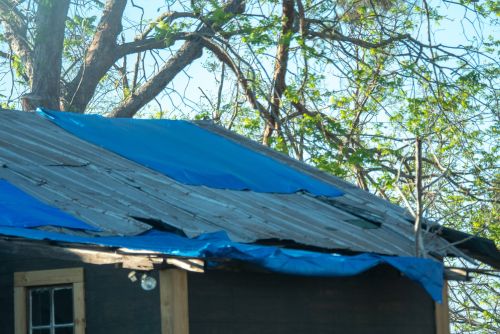
Once damaged flashing is repaired, a tarp can protect your roof temporarily. To prevent home damage, act quickly when a leak occurs. Tarps are a creative way to temporarily repair your roof from the inside. Tarps are a good temporary solution for four reasons:
So how do you temporarily repair a roof from inside? I will watch the roof for leaks. Leaks must be repaired immediately to prevent roof damage. By monitoring the roof from inside, I can spot leaks quickly and fix them.
I’ll check the roof’s interior for water stains, dampness, and mold to monitor it. These indicate a leak and should be addressed immediately. Check for dripping sounds or a musty smell, which may indicate hidden leaks.
I’ll fix a leak right away to avoid further damage. Leaks can be temporarily repaired with roofing cement or sealant. These can help until professional repairs are made.
Innovative solutions can also monitor and fix internal leaks. Smart sensors can detect moisture and alert your phone or computer. These sensors can detect leaks in real time, allowing you to act quickly.
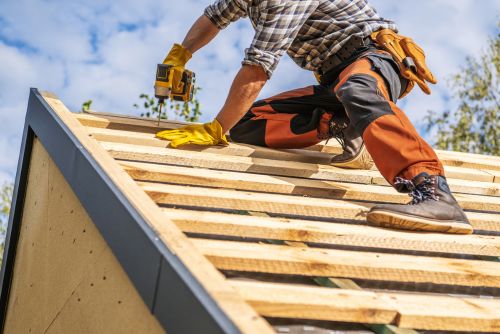
When considering long-term roof repairs, professional help is essential. Temporary solutions provide immediate relief but aren’t permanent. Consulting a professional ensures innovative and effective long-term repair options. Professional advice is essential for four reasons:
Long-term roof repair requires professional advice. Their expertise, safety measures, quality workmanship, and warranties ensure proper roof repair and long-term home protection.
Preventing future damage is crucial to your roof’s longevity. There are several proactive ways to protect your roof. These preventive measures can extend the life of your roof and reduce future damage.
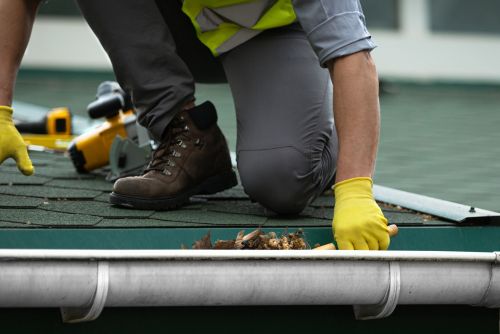
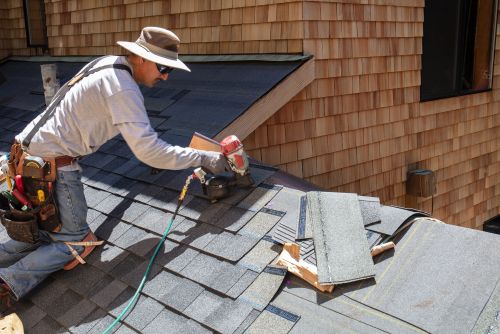
Check your roof for wear and tear first. Check for loose shingles, damaged flashing, and clogged gutters. Early detection and repair can prevent these issues from worsening and damaging your roof.
Selecting high-quality roofing materials is another precaution. Investing in weatherproof materials can prevent roof damage. Consider choosing materials that can withstand your local climate. This will prepare your roof for weather issues.
Roof damage prevention requires regular maintenance. This includes regularly cleaning gutters, trimming overhanging tree branches to prevent falling limbs, and ventilating your attic to prevent moisture buildup.
In conclusion, temporary roof repairs from inside require several steps. Assess the damage and gather materials first. You can find the leak once you have everything. Apply a temporary sealant or caulk to prevent water damage after finding the source.
It’s important to remember that temporary fixes are just that. Maintaining the repaired area and addressing leaks is crucial. For a long-term solution, consult a professional who can assess the damage and suggest repairs.
Taking preventative measures also helps prevent roof damage. Regular roof inspections, debris removal, and prompt repairs can help maintain its integrity and prevent costly repairs. Stay proactive to protect and prolong your roof. Finally, we have answered the question: how do you temporarily repair a roof from inside?
Typically, a temporary roof patch can last anywhere from a few days to a few months, depending on the severity of the damage and the weather conditions. However, it’s important to note that a temporary repair is just a short-term solution and shouldn’t be relied upon for long-term protection. To ensure the longevity of your roof, it’s crucial to get a professional assessment and schedule a proper repair or replacement as soon as possible.
I can use regular caulk for a temporary roof repair, but it’s important to choose a specific type that’s designed for roof repairs. Regular caulk may not have the necessary durability and weather resistance to withstand the elements. Using a specialized roof repair caulk will ensure a more effective and longer-lasting temporary fix.
If done improperly, using a tarp to repair a roof from inside can cause damage. You must secure the tarp tightly to prevent moisture from entering.
The tarp and snow may also put strain on the roof structure. Therefore, consult a professional to assess the situation and provide the best temporary repair solution.
To prevent future roof damage, there are several common preventive measures you can take.
First, make sure to regularly inspect your roof for any signs of wear or damage. Secondly, keep your gutters clean and free of debris to ensure proper water drainage. Additionally, trim any overhanging tree branches that could potentially damage your roof during storms.
Finally, consider applying a protective coating to your roof to enhance its durability and longevity. These preventive measures can help you avoid costly repairs in the future.
When should I seek professional advice for long-term repairs?
If you notice significant roof damage or temporary fixes aren’t working, contact a professional for long-term repairs. Professionals will evaluate the damage and recommend a solution. They have the expertise to recommend roof repairs or replacements that will prolong its life and prevent further damage. For long-term results, seek professional help.
