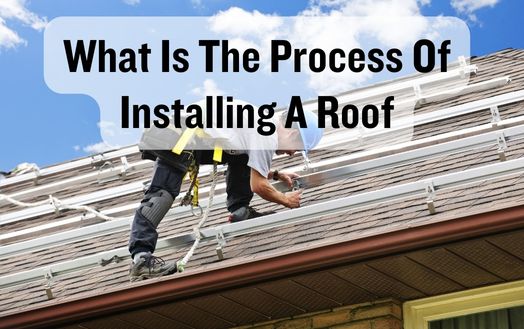
Have you ever wondered what is the process of installing a roof? It may seem like a straightforward task, but there’s actually a lot more to it than meets the eye. From preparing the roofing area to applying the final touches, each step requires careful attention and precision.
In this discussion, we will explore the various stages involved in installing a roof, shedding light on the intricacies of the process and uncovering the hidden challenges that professionals face. So, let’s dive into the world of roofing and discover the secrets behind a successful installation.
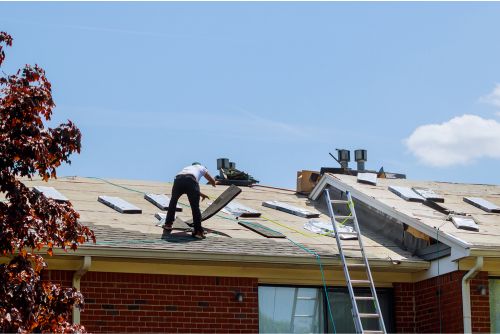
For installation, clear the roofing area of debris and make it stable. This step is crucial to roof installation success. Preparing the roofing area ensures a proper installation and long-term durability.
Debris removal is the first step in roofing preparation. Remove loose shingles, nails, and other materials that could hinder installation. To install the roof evenly and securely, you need a clean surface.
After clearing debris, the surface must be clean and dust-free. Sweeping or leaf blowing removes loose particles. A clean surface ensures proper roofing material adhesion and a long-lasting roof.
In addition to cleaning and clearing the roof, secure the surface. Check for weak spots or areas that need reinforcement. To stabilize the roof, add support if needed.
I recommend inspecting the roof for damage or deterioration before removing old roofing materials. This step is essential for a smooth roof installation. Identifying issues lets us fix them before moving forward.
Start with gloves and goggles to protect yourself during removal. Safety is paramount when roofing. Once prepared, remove the old roofing.
Start by removing loose shingles or tiles. Lift them carefully to avoid damaging the underlying structures. Remove the remaining roofing components after removing loose materials.
Pry bars or roofing shovels may be needed to remove stubborn materials like old tar paper or adhesive. This will affect the quality of the new roof installation, so take your time and be thorough.
The roof must be thoroughly cleaned after all old roofing materials are removed. This step ensures that new materials adhere and create a long-lasting roof. Remove dust and debris with a broom or blower.
Examining the roofing structure reveals its condition and potential issues that must be addressed before installing the new roof. To ensure roof replacement success, inspecting the roofing structure is essential. When inspecting the roof, consider these three factors:
After inspecting the roofing structure for structural damage, moisture damage, and inadequate ventilation, the roof installation process continues with damage repair.
The roofing installation process must include damage repair to ensure the roof’s longevity and durability. Before repairing damaged areas, identify the issues and assess the damage. A skilled and knowledgeable roofing contractor can do this but you can also do it on your own if you are equipped with the right knowledge and skills.
After identifying the damaged areas, gather the roofing materials and tools needed for repair. Repair materials depend on the damage and roof type. High-quality, weatherproof materials are essential. This will make the repaired areas strong and resistant to future damage.
After gathering the materials, repair can begin. This may require removing damaged shingles or tiles, repairing underlying structures, and replacing damaged materials. The roofing professional’s instructions must be followed to ensure proper repair.
Roof aesthetics must be considered during repair. The repaired areas should match the roof for a uniform look. This level of attention to detail distinguishes professional roofing installations.
Underlayment is the next step in roof installation. This step protects against water and other elements and is crucial. Roof installation underlayment can be applied in three novel ways:
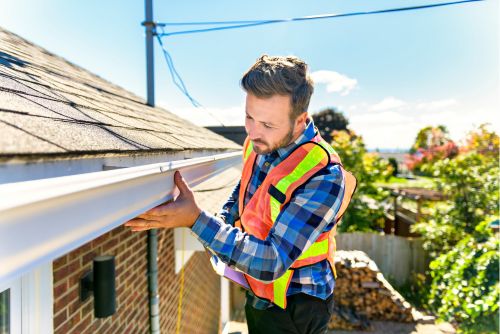
I recommend installing a drip edge for roof protection and water drainage. Installing a roof with a drip edge is innovative and necessary. My experience as a roofer has shown me how it can extend roof life and prevent water damage.
Installing drip edge requires drip edge pieces, roofing nails, and a hammer. Metal drip edges are installed along roof edges like eaves and rakes. Water cannot seep under the shingles and damage them because it directs water away from the roof and into the gutters. The drip edge should overhang the gutters as it is placed along the roof eaves. Nail it down with roofing nails.
Go to the rakes to install the drip edge along the roof’s sloping edges. Again, nail it with roofing nails, overlapping the corners for a seamless installation.
Drip edges protect against water damage and are essential to roofing. It strengthens the edges and prevents water from entering the roof. Following these steps and adding a drip edge to your roof installation will ensure it can withstand the elements and last.
After installing the drip edge, install the roofing materials. This step is essential for a sturdy, weatherproof roof that protects your home for years. Three novel roofing material placement methods:
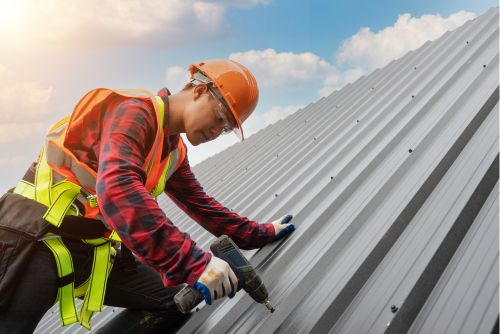
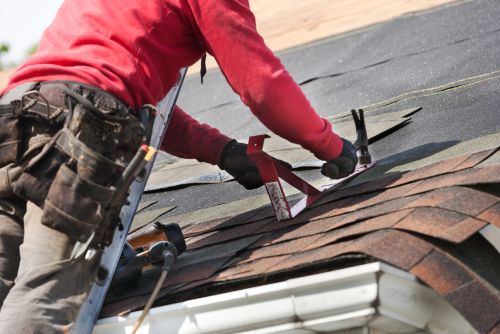
To ensure a secure and durable roof, nail or staple roofing materials properly. Secured roofing materials require precision and attention to detail during roof installation. This is an important step in discovering what is the process of installing a roof.
Traditional roofing materials are attached to the roof deck by nailing. It requires roofing nails or coil nails. For corrosion resistance, these nails are galvanized steel. Nails should be straight and perpendicular to the roof deck to secure materials. Leaks are prevented, and the roof can withstand harsh weather.
The efficiency and ease of installing staples are making them a popular alternative. Specialist roofing staplers secure roofing materials with staples instead of nails. With the stapler, staples hold well and are easy to install. Note that not all roofing materials can be stapled. For specific roofing materials, consult the manufacturer’s guidelines and recommendations.
Flashing must be properly installed for a secure and durable roof. A new roof needs flashing to prevent water infiltration and leaks in vulnerable areas. Consider these three factors when installing flashing:
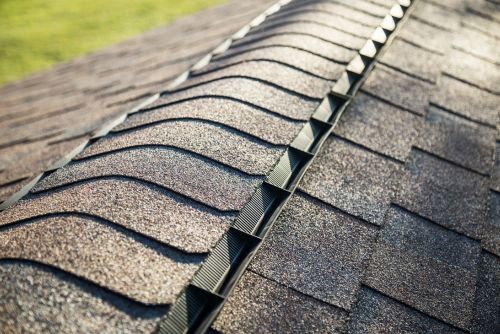
Ridge vents will improve roof ventilation. Ridge vents are essential when installing a roof. These vents increase attic airflow to prevent moisture buildup, mold, and mildew. Ridge vents help regulate attic temperature by letting hot air escape, saving energy.
Ridge vent installation begins with choosing the right size and location. They should be evenly spaced along the roof ridge for maximum ventilation. After positioning, remove the ridge shingles and roof decking. This makes room for the ridge vent.
Install the ridge vent after preparing the opening. Nail or screw the vent to the roof for a secure fit. For proper functionality, follow the manufacturer’s installation instructions.
After installing the ridge vents, check the area for gaps or openings that could affect their effectiveness. Prevent leaks with proper sealing and flashing.
Roof installation continues with roofing cement after ridge vents. Sealing and protecting the roofing material is essential for a long-lasting roof. Roofing cement application requires three key knowledge points:
The installation of roofing cement is essential to the longevity and performance of your roof. You can improve roofing material adhesion, prevent leaks, and prolong roof life by applying it properly. So, don’t skip this crucial roof installation step.

To ensure a clean and safe work environment, roof installation requires debris cleanup. Debris removal improves roof quality and installation efficiency. We clean up debris using cutting-edge tools and methods to speed up the process and reduce risks.
Old shingles, nails, and other construction materials can accumulate on a roof installation site. Powerful industrial vacuums efficiently remove debris. These vacuums are designed to remove various debris, leaving no residue.
We also use magnetic sweepers to collect stray nails and metal debris that could be dangerous. These magnetic devices attract and collect metal fragments, preventing roof damage and injuries. These cutting-edge tools ensure thorough debris removal in our cleaning process.
Additionally, we value eco-friendly practices. We follow local regulations to properly dispose of all debris. This sustainability effort protects the environment and boosts our company’s reputation.
The roof is inspected after installation to ensure quality and safety. The inspection process is crucial to roof installation. It ensures proper roof installation and compliance with standards. The inspection process has three key elements:
Inspection of the finished roof is crucial to roof installation. It finds installation issues and ensures the roof is safe, durable, and compliant with industry standards. A thorough inspection gives homeowners peace of mind that their roof is in good condition.
After inspecting the roof, the next crucial step is checking for leaks. This step is crucial to roof installation success and water damage prevention.
Leaks are checked by thoroughly inspecting the roof for water entry points. This is crucial for new roof installations because even small leaks can cause major issues. I start by inspecting the entire roof, paying special attention to water-prone areas like vents, chimneys, and skylights.
Flashing, which seals roof joints and intersections, is checked next. Because gaps and cracks let water in, flashing must be properly installed and undamaged. I also check the shingles or tiles for damage or improper installation that could cause leaks.
I use advanced tools and technologies to detect leaks. Thermal imaging cameras and moisture meters can reveal hidden moisture and leak points. These innovative tools help me assess the roof’s condition more accurately and address potential issues before they worsen.
The roof installation cleanup and final touches follow the leak inspection. To ensure the roof is properly installed and attractive, this is crucial. Three key aspects of final touches and cleanup:
In the final touches and cleanup phase, advanced techniques and materials improve roof performance and longevity. Using innovative technologies and sustainable practices, roofing professionals can create a beautiful, energy-efficient, and environmentally friendly roof.
In conclusion, installing a roof is a multi-step process that requires careful preparation, inspection, and application.
From preparing the roofing area to removing old materials and repairing any damages, each step is crucial in ensuring a sturdy and leak-free roof. Applying underlayment and cleaning up debris are also important steps before inspecting the completed roof for any further issues.
Checking for leaks and adding final touches and cleanup complete the installation process, resulting in a well-installed and functional roof. Now you already know what is the process of installing a roof.
Roof installation can take days or weeks, depending on its size and complexity. Weather and material availability can also affect timelines. Work with a professional roofing contractor for an accurate estimate and an efficient installation.
Yes, you can replace the roof. The process is overlaying or re-roofing. This method avoids removing the old roof, saving time and money. However, the roof’s condition and ability to support another layer must be considered. To ensure a successful installation, consult a roofing contractor.
I think the best roofing material for your climate depends on temperature, humidity, and precipitation. Choose materials that can withstand local conditions and provide optimal insulation.
Metal roofs are durable and good for hot climates, while asphalt shingles are versatile and work well in many weather conditions. The best way to choose materials for your climate is to consult a roofing professional.
A permit is usually required before installing a new roof. Local building codes govern permit requirements.
To find out your local permit requirements, contact your local government or building department. A permit ensures your roof installation meets safety standards, giving you peace of mind and protecting your investment.
A new roof needs regular inspections to last and perform well. Regular inspections depend on the roofing material, local climate, and potential damage or wear.
While I recommend having your roof inspected at least once a year, it’s best to consult a roofing contractor for their expert advice on the best inspection schedule for your roof.
